
This post may contain affiliate links, which means if you purchase from one of these links I will receive a commission. Please read my full privacy policy for more information.
I talk a lot about helping moms escape the 9-5 grind by building online businesses. I often get asked, “does this mean I need to start a blog?” Followed by “how do I start a blog?”
Here’s the deal: if you want to build an online business, you NEED a website. You can’t build your brand online without a website. Think of a blog as another way of saying website. You know you need a website, right? A blog is just an extension of that. It’s a way for you to communicate and provide value to prospective customers.
17 Reasons You Need to Start a Blog in 2020
- A blog is a great way to share your creative passion with the world.
- You can literally make money from blogging about something you already love to do.
- Fall and Winter are popular seasons for blog traffic, the sooner you get started, the sooner people can find you!
- After the holiday season, many people get bummed out about going back to work in the new year, you can monetize your passion and turn it into a full-time income. Goodbye 9-5!
- Blogging is super flexible. You can blog while your kids are in school or after they go to bed. There’s no set time you need to show up in the office!
- Blogging provides you with a platform to make changes in the world. (Like when I was invited to the White House to speak about my experience as a working mom)
- You can change your family’s financial situation.
- Blogging is an outlet for you to express yourself.
- Blogging helps you learn new skills.
- Blogging gives you the confidence to share your talents with the world.
- Hard work pays off in the blogging world.
- Help people overcome hardships and obstacles in their lives.
- Gain new connections and friendships in both business and life.
- It opens a whole new world of opportunities.
- It breaks you out of your comfort zone.
- Blogging is the most inexpensive way to start a business that has ever existed.
- You can blog from anywhere in the world.
Are you convinced?
Good! You should be. Now let’s cover the technical basics of setting up your website.
The Basics of Setting Up a Website
What is a domain?
A domain is your website name (also known as a URL). Your domain is what people will type into their browsers to access your website. Mine is redefiningmom.com.
Before settling on the name for your business, you should always make sure your domain name is available. You can check this for free using Namecheap.
I suggest checking all major social media channels to make sure your business name is available before settling on a name. The major ones I would consider: Facebook, Twitter, Instagram, Pinterest, and YouTube. This doesn’t necessarily have to hold you back. I was able to get @redefiningmom in most instances, but on Pinterest I am @redefinemom.
DO NOT register your domain name yet. We will discuss whether or not to pay for your domain name through a company like Namecheap or to use your hosting provider to register your domain name later.
What is website hosting?
A website hosting service provides a server that maintains and hosts the files for your website. Every time someone accesses your website by going to your URL, they will be accessing files that sit on the hosting provider’s server.
What is WordPress?
WordPress is a content management system (CMS). It is the backend of your website that you will access to control what people see when they go to your website. Your WordPress install is hosted on your hosting provider’s server.
Do I need to have a self-hosted website?
YES! A self-hosted website is necessary for having complete control over what you do on your website. A website is yours and it is COPYRIGHTED to you. If you do not self-host, you are giving up control over your most valuable asset. Blogger is a popular blog platform run by Google. What happens if Google decides to stop supporting Blogger tomorrow?
The same is true for social media. Growing your platform solely on Pinterest or Facebook puts you at the mercy of their algorithms—and they can shut you down at any time.
If you plan on taking your business seriously, a self-hosted website is a necessity, not an option.
What is the difference between WordPress.com and WordPress.org?
WordPress is the most popular CMS for running a self-hosted website.
If you Google “WordPress,” you will find two different sites: WordPress.org and WordPress.com. WordPress.com is NOT for self-hosted websites. For our purposes, you will be using WordPress.org. A few benefits to using WordPress.org are: it allows you to self-host your website, be in control of your own data, use any WordPress plugin, create custom themes, make money from displaying ads, and track analytics and conversions to your site.
What is a parent theme and child theme?
I use the Genesis Framework by StudioPress for my parent theme and StudioPress’ Lifestyle Pro theme for my child theme.
A basic way of explaining this is that the parent theme is the guts to your computer; it’s not something you touch or modify. The child theme is the operating system where you can add programs and modify functionality. 99.9% of the time, you will never touch your parent theme—but just like you want a powerful computer processor to be able to handle how you use your computer, you want to choose a reliable and powerful framework for your site. The child theme is where you modify the design of your site. Both the parent and child themes are installed in WordPress.
Do I need a mobile responsive theme?
Absolutely! Google penalizes websites that are not mobile responsive in their search results. The good news is that all StudioPress child themes are now mobile responsive!
Setting Up Your Website
Here I am going to take you through the steps of setting up your domain (URL), hosting, and WordPress.
Step 1: Choose a hosting provider
I prefer Bluehost for the new websites I’ve been starting lately. They have some amazing benefits that stand out from the competition…
- 99.9% uptime (because who wants their website to be down all the time?!).
- One-click Wordpress install, making it one of the easiest hosting companies to get up and running quickly with Wordpress!
- Affordable renewal prices (a fraction of the price of popular competitors), meaning you won’t be hit with a huge bill after the first year.
- FREE SSL certificate for one year ($82 value)—many hosting providers charge $100+ a year for this feature.
- 24/7 Wordpress hosting support via chat or phone, in case you run into a fatal error at 3am!
- 30-Day Money-back guarantee – you’re not locked into a contract and there are no hidden fees.
A NOTE ON CHOOSING A HOSTING PROVIDER: If you’ve been around for awhile, you might know that I used to only recommend Siteground and warned against choosing Bluehost. I had trouble with them years back and was frustrated with their support. I met a Bluehost representative at FinCon 2019 and had an honest conversion about my concerns. She told me how Bluehost has undergone tremendous change since 2017. They completely restructured their customer support team and now have one of the top ratings in the hosting industry. They also improved their servers and moved their server location across the country, resulting in amazing up-times.
After our conversation and demo of their new back-end platform. I can honestly say that Bluehost has the easiest set-up process and has great support for starting a new self-hosted Wordpress blog, with pricing that beats the competition.
Now on to showing you how to set up an account with Bluehost!
Step 2: Select your plan
I recommend starting with the Choice Plus plan, as it gives you the perfect amount of room to grow as new blogger/website owner. The great thing about Bluehost is that you can seamlessly upgrade as you go, and the upgrading costs are clear.
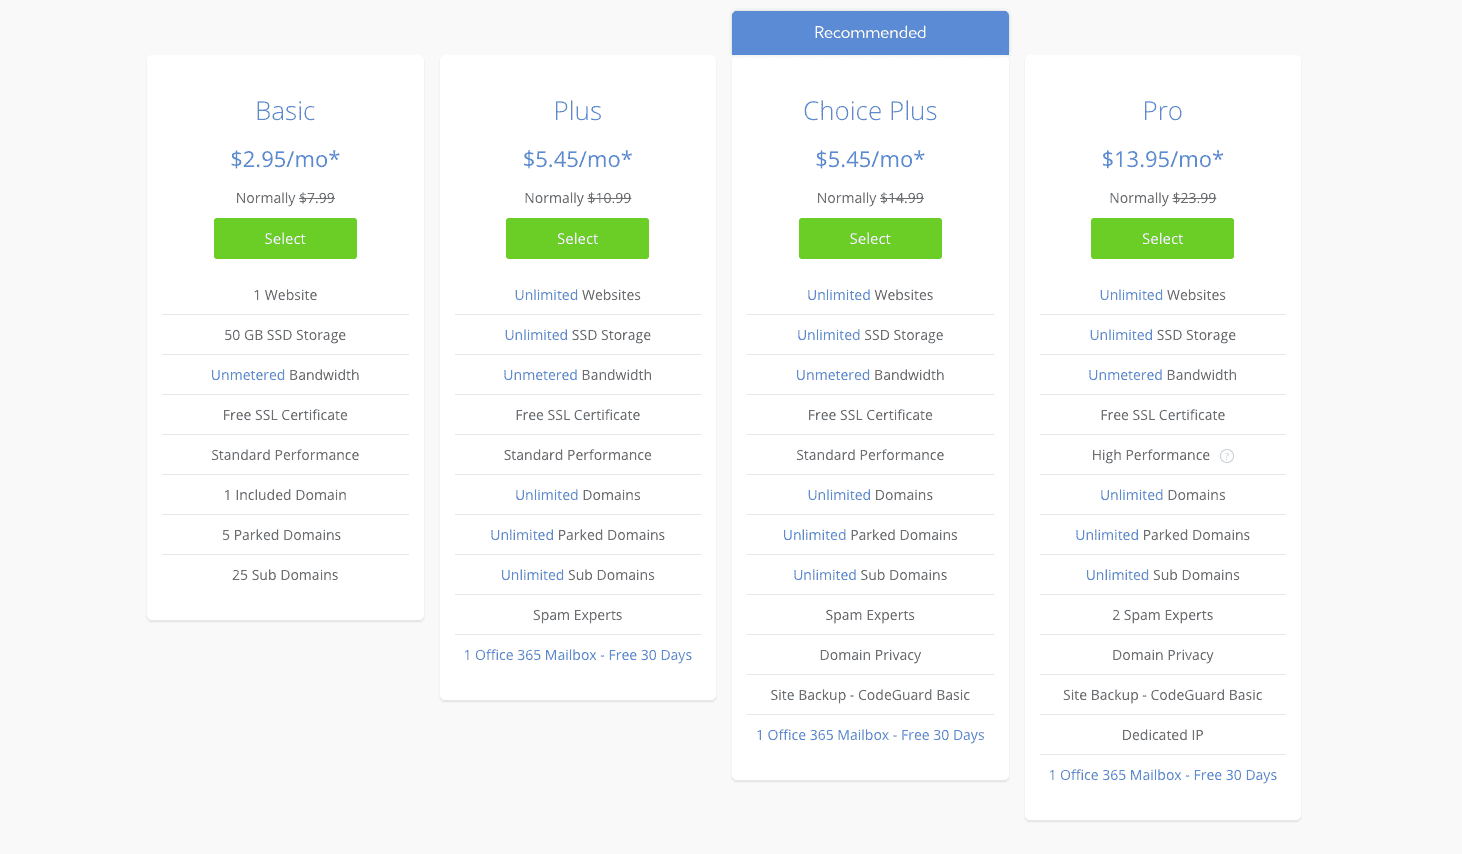
The Choice Plus plan comes with a 30-day money back guarantee!
Step 3: Choose your domain
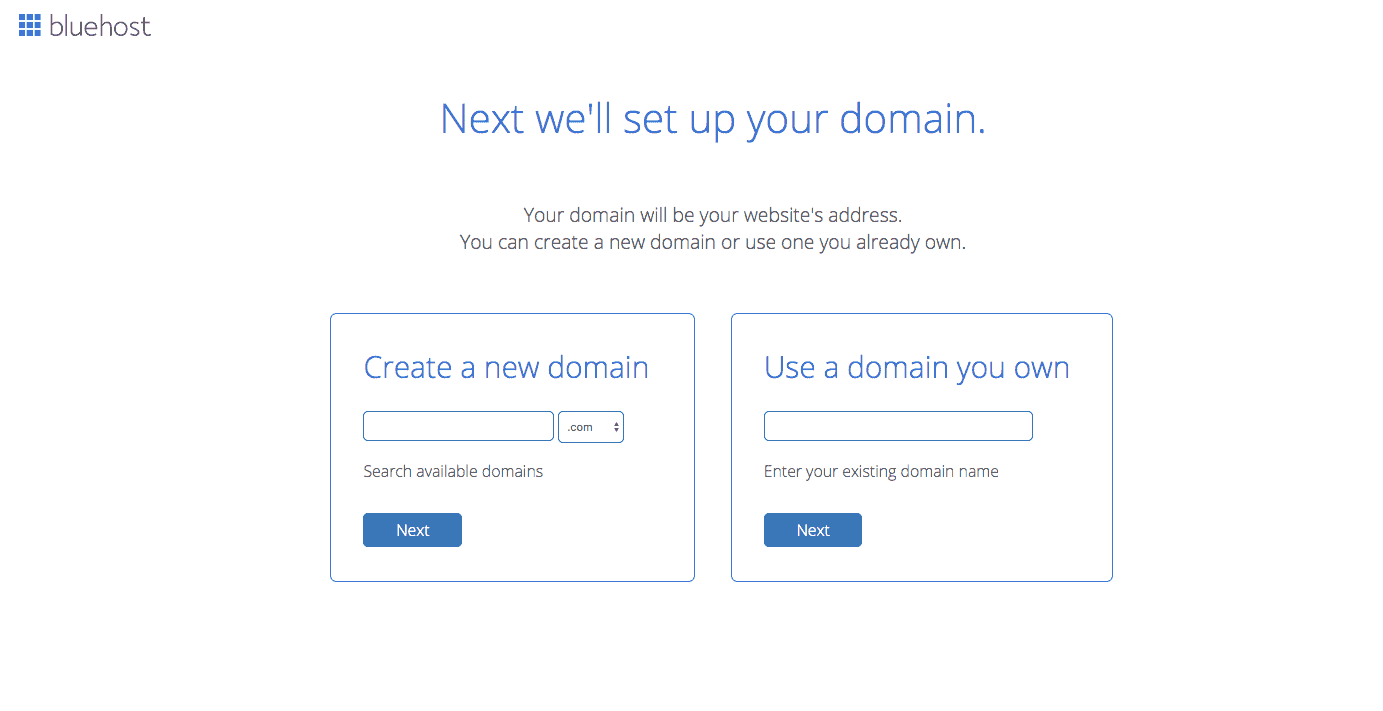
Bluehost gives you two options:
- Purchase your domain name directly through Bluehost.
- Use a domain name you already own through another provider, like Namecheap.
I register all my domains with Namecheap. Purchasing your domain separately from your hosting site gives you an added layer of security.
Why should I register my domain somewhere else?
If you ever have an issue with your hosting company, or if your hosting company gets hacked, it creates a level of security for your domain if you keep it separate.
How to Purchase a Domain Through Namecheap
Head on over to Namecheap.
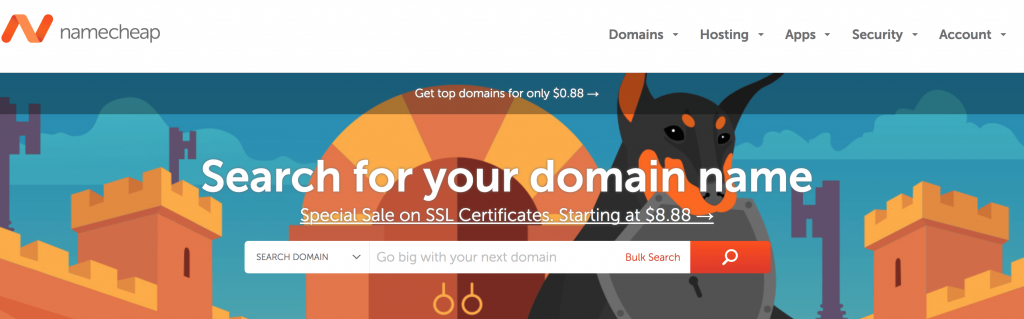
Enter the domain name you’d like to register.
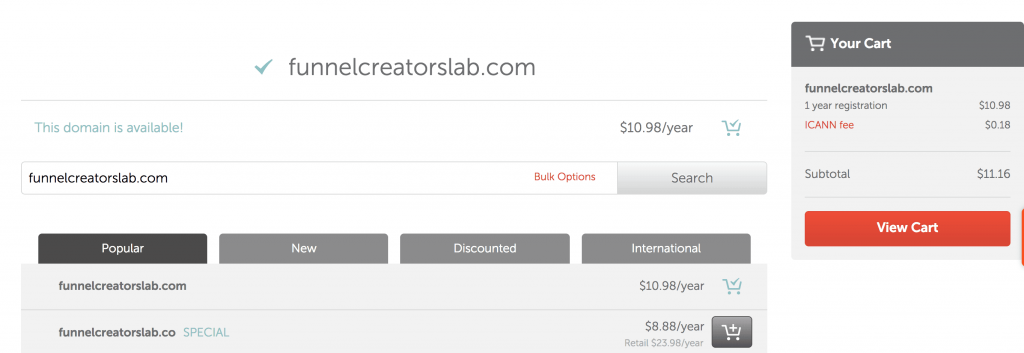
If the domain name you want is available, add it to your shopping cart.
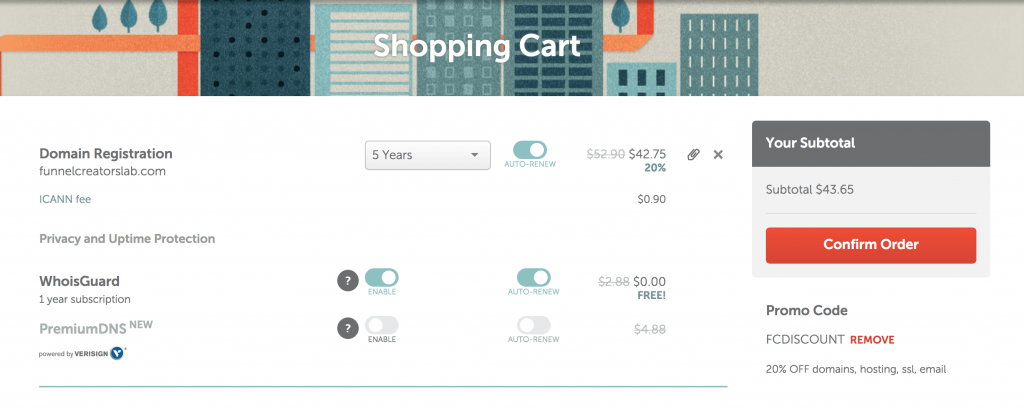
Namecheap offers domains for super cheap so I recommend selecting the maximum number of years available (5 years). I always leave auto-renew turned on. You won’t want to risk someone coming in and claiming your website if you forget to renew!
UPDATE: Domain privacy “WhoIsGuard” is now free with all Namecheap domains!
PRO TIP: I use the Chrome extension, Honey, to search for discount codes I can use when checking out online. In this case, I saved 20% on my order by using this extension!
After you’ve purchased your domain name on Namecheap, you can finish checking out on Bluehost.
Step 4: Fill Out Account and Payment Information
Here’s what your checkout screen will look like…
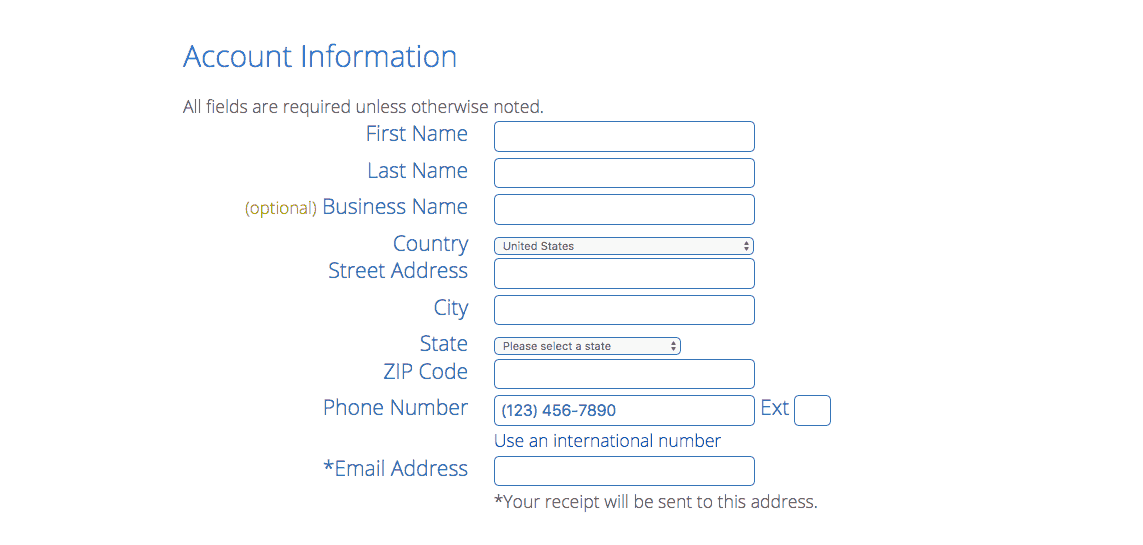
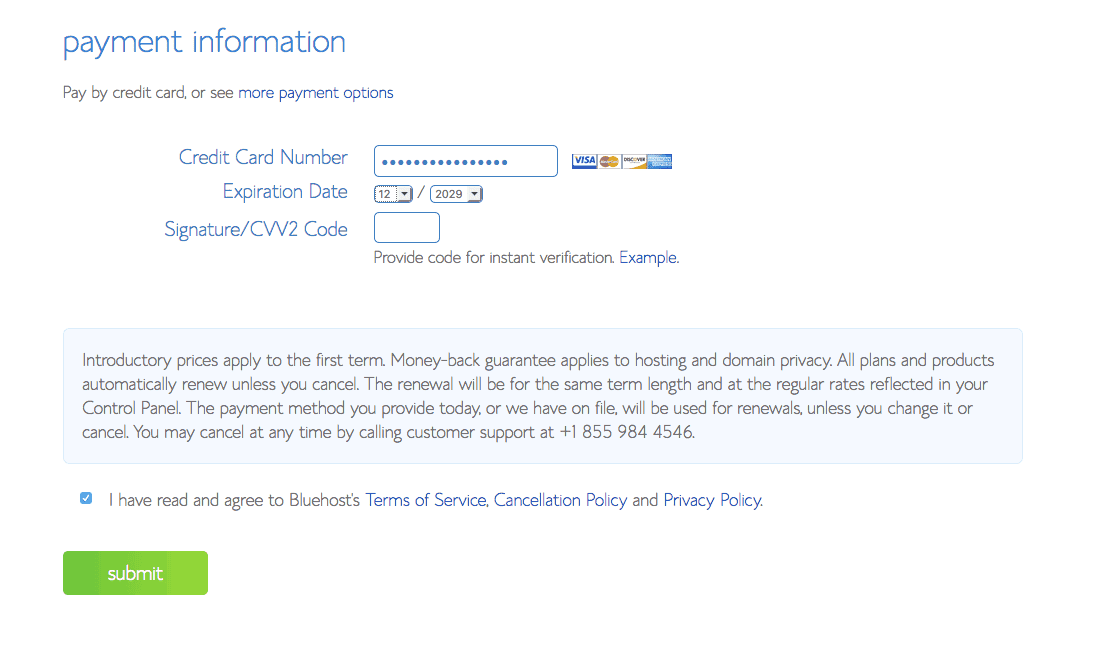
Then you’ll enter your payment information…
Step 5: Choose Your Package
Next, you’ll choose which hosting plan you’d like and the length of the plan. If you choose the 36-month price, you’ll get the most bang for your buck.
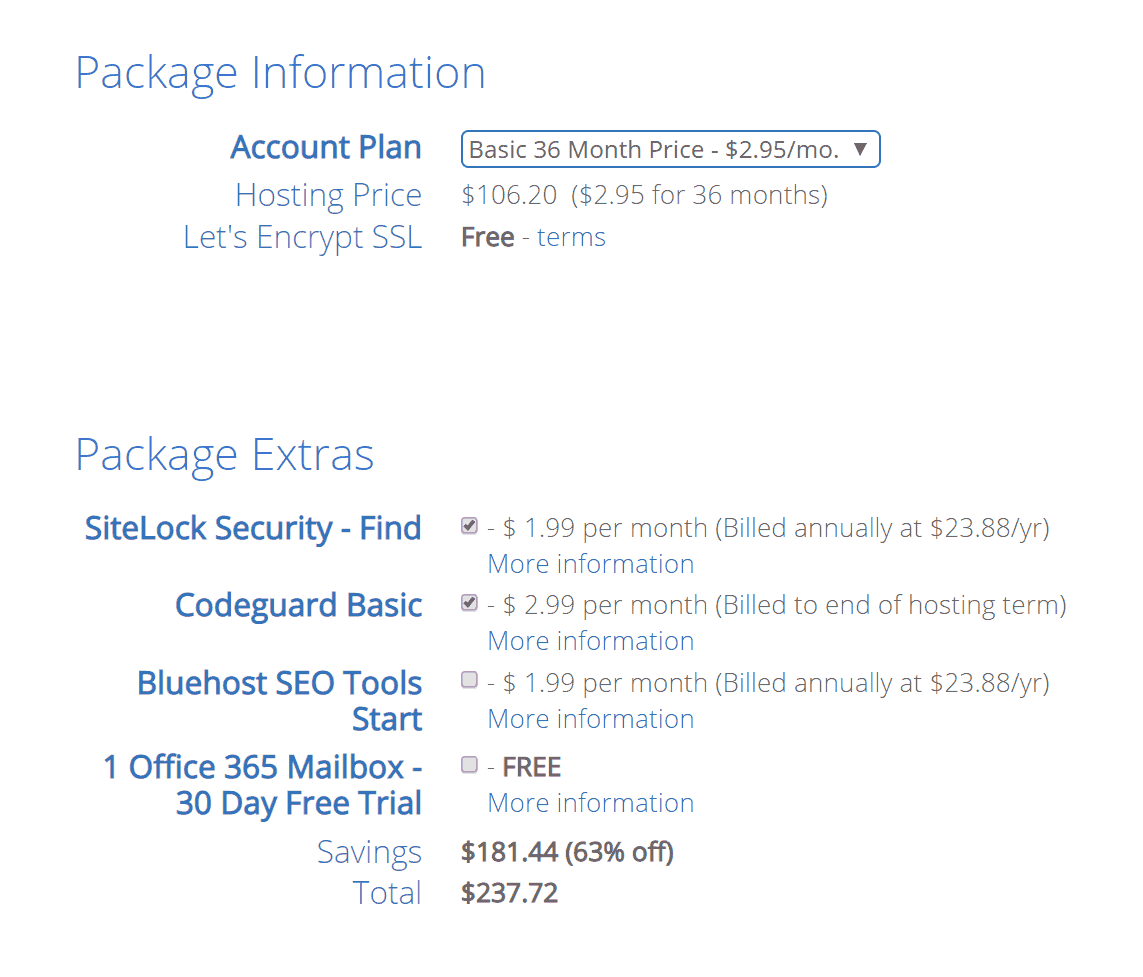
Some extras I recommend selecting include…
- SiteLock Security – Keeps your site safe and free of spam.
- Codeguard Basic – This service takes daily backups of your site, so if you accidentally mess up something and crash your site, you’re covered!
Step 6: Create Your Account
First, you’ll need to create a new password for your account. This is what you’ll use to log into Bluehost and Wordpress.
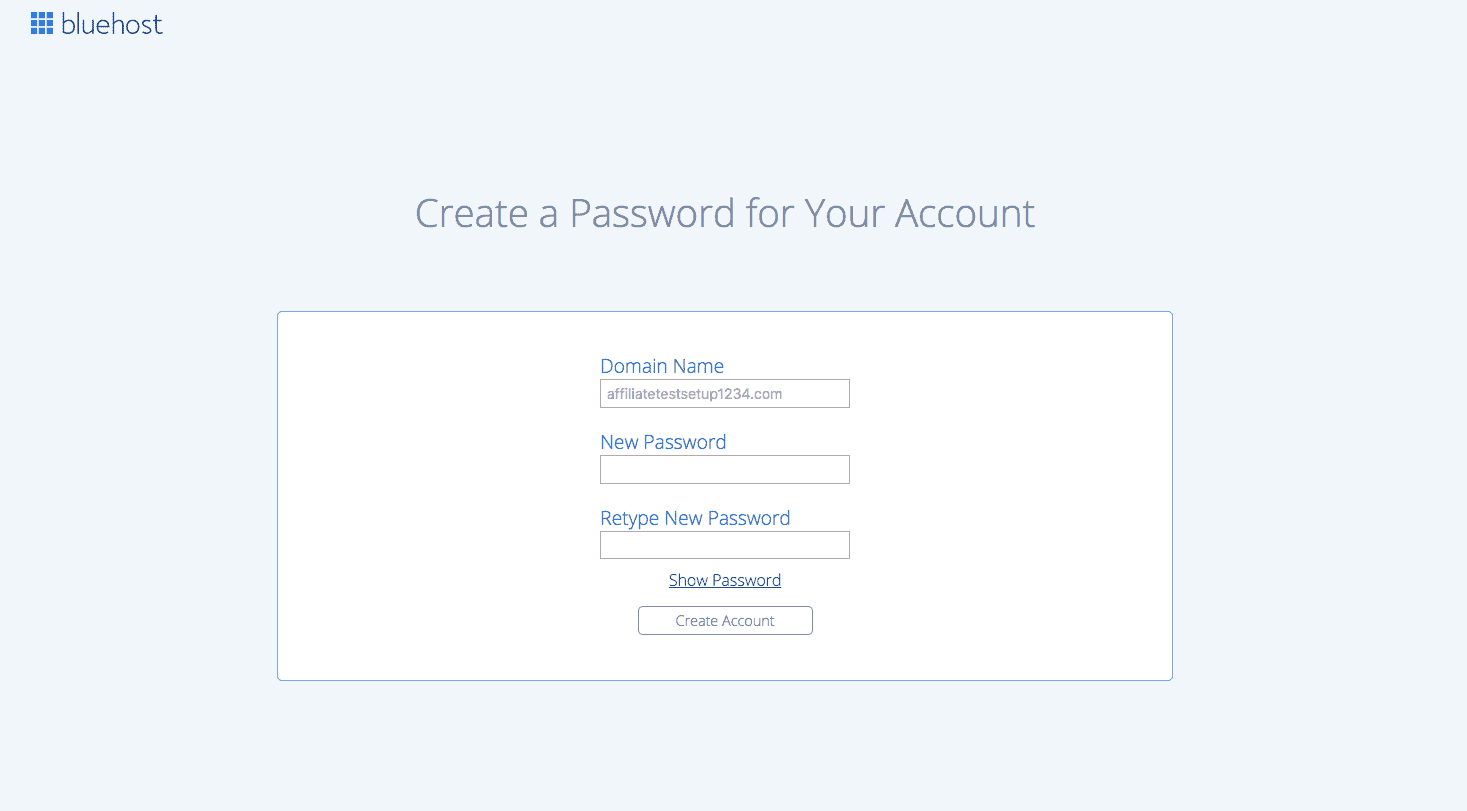
Click “Create Account,” then you’ll be taken to this page.
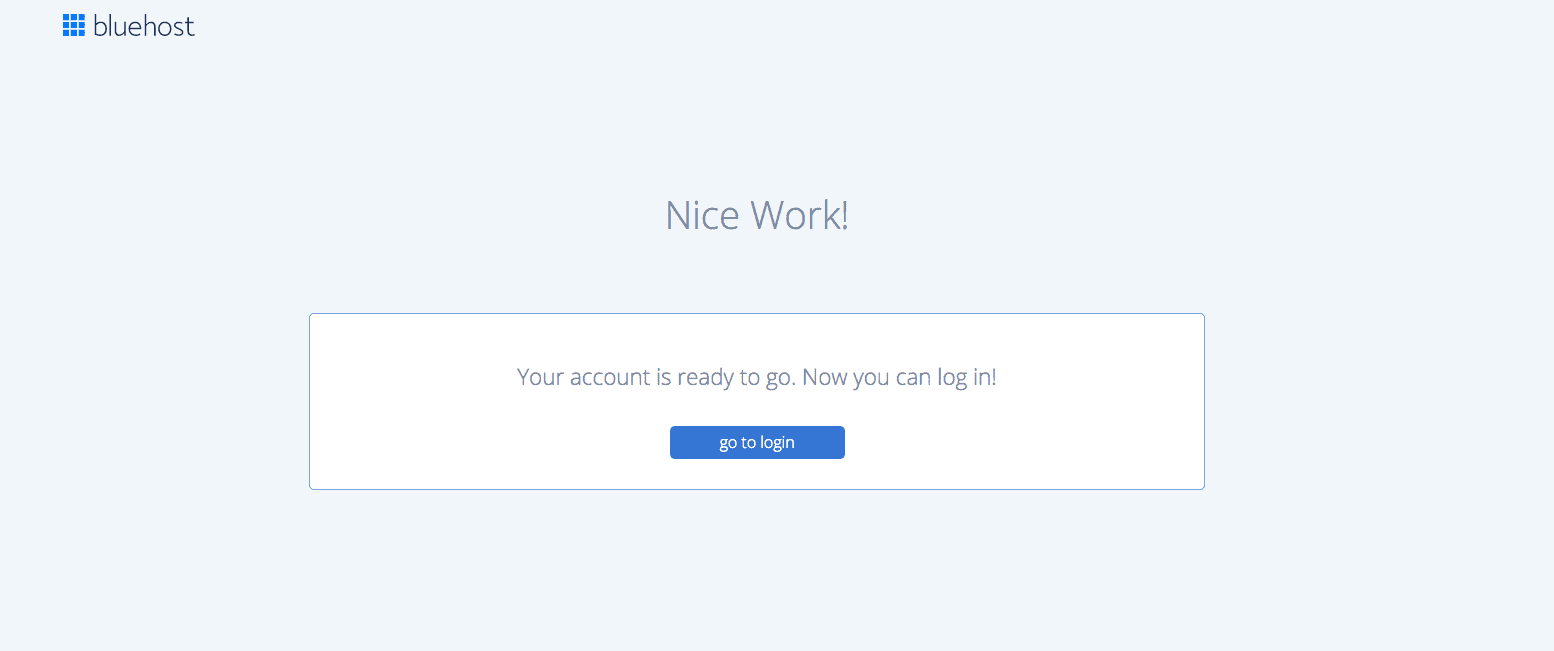
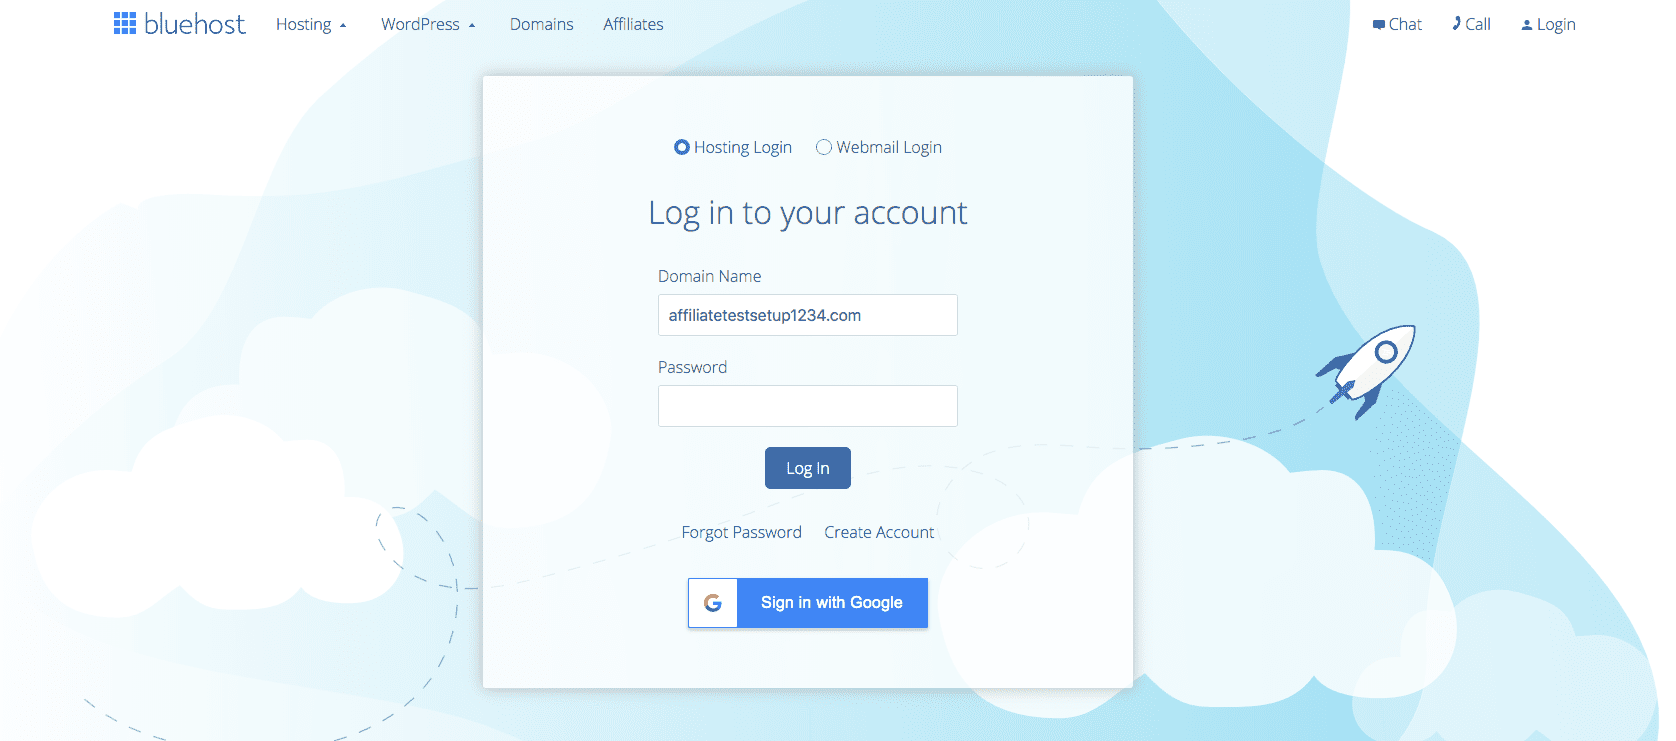
Click, “go to login,” then you’ll be taken to this page where you can log in with the password you just created!
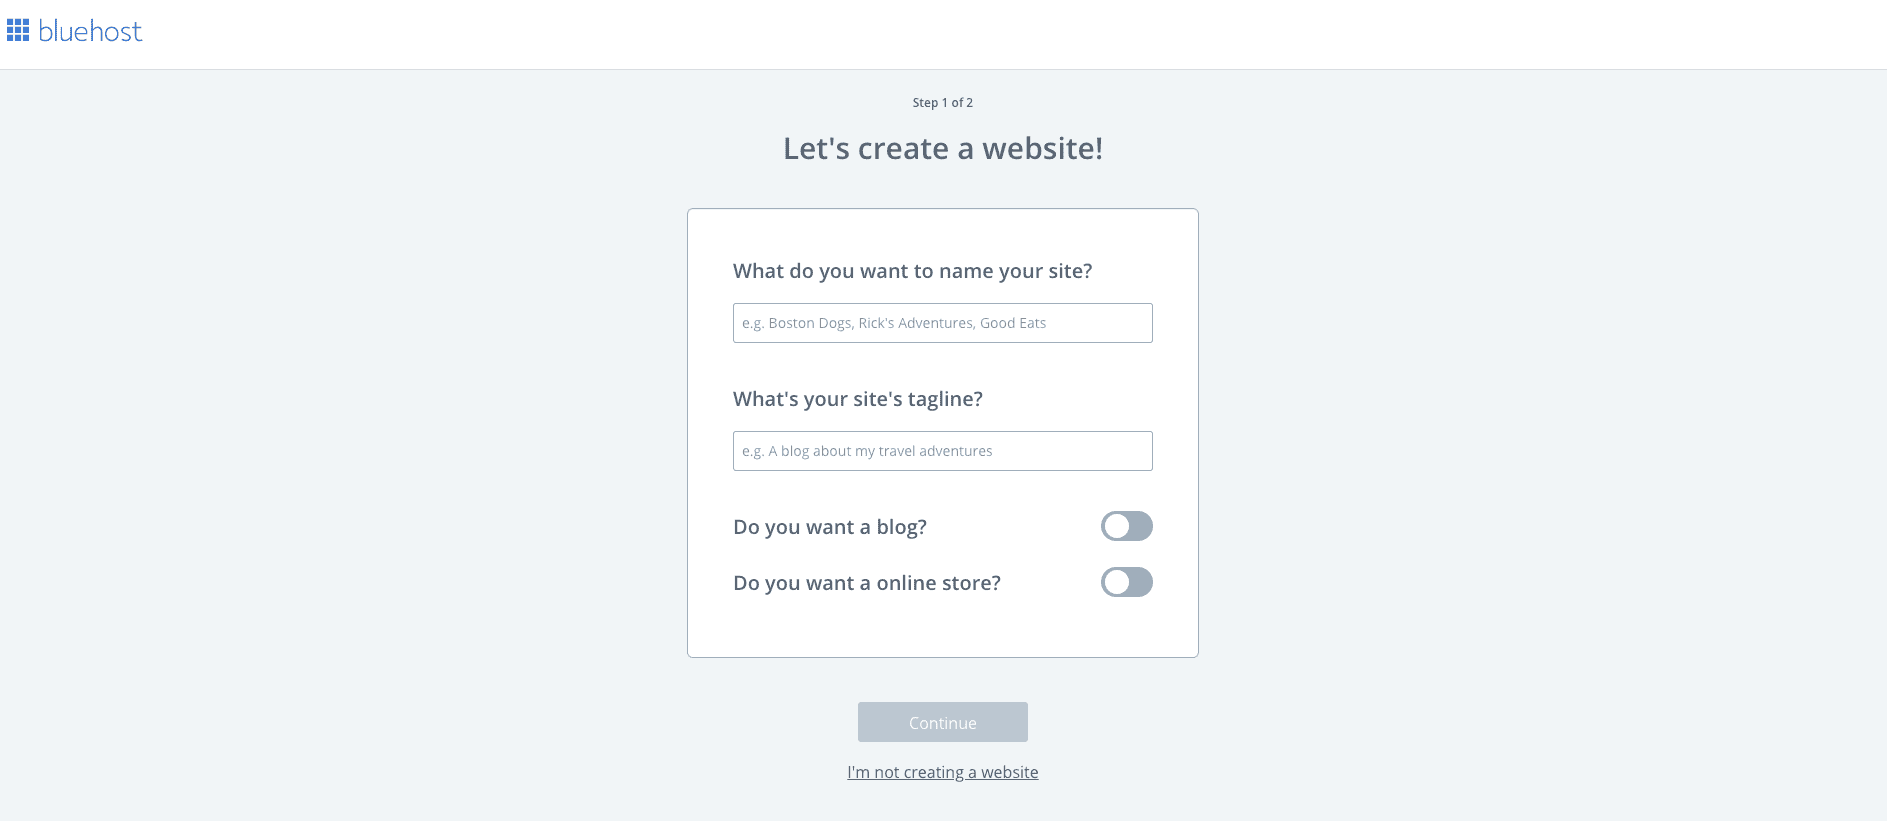
Step 7: Set Up Your New Website
This is an exciting part! On the next screen, you’ll get to name your website. For example, this website is Redefining Mom. You’ll also enter your site’s tagline. This is used in your site description on Google and on your homepage. Our tagline is Where Women Thrive in Motherhood and Business.
Make sure to turn on “Do you want a blog?”
If you know you want an online store, you can turn on that switch, too. If you’re not sure yet, keep it off.
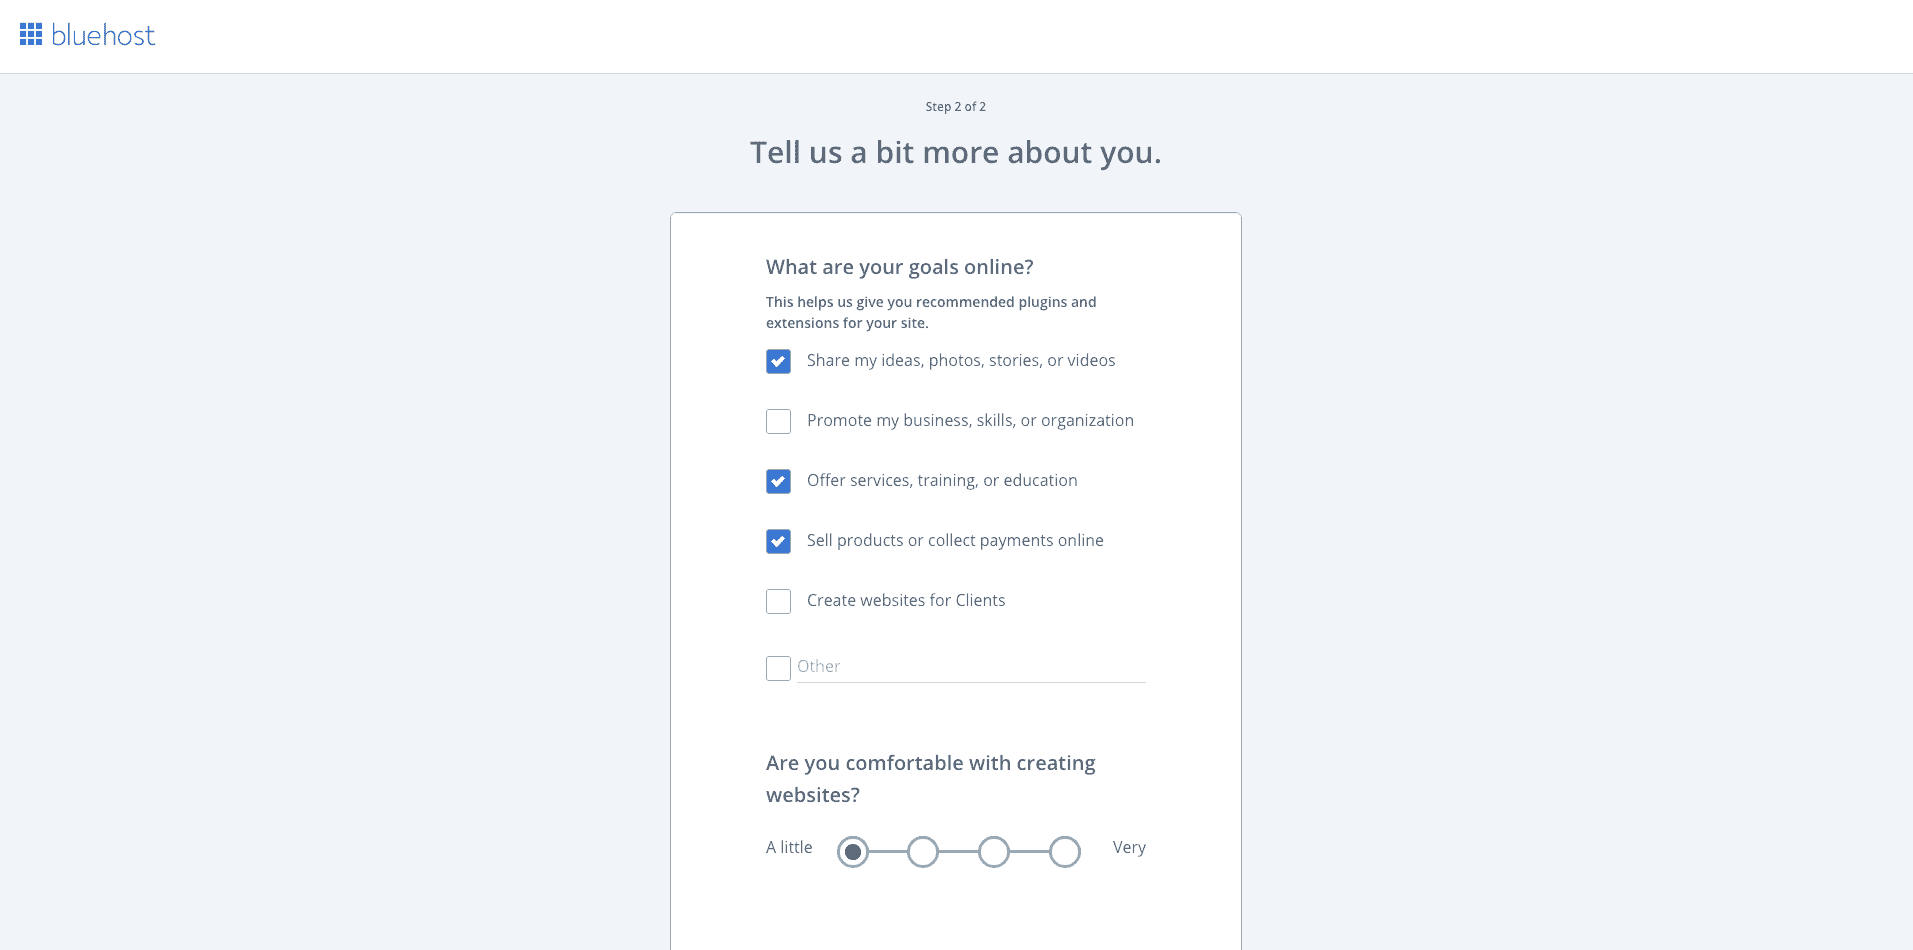
On the next page, Bluehost will learn a little bit about you to help you on your website-creation journey.
Step 8: Skip “Select a Theme” & Install Wordpress
You have two options here: Use a free theme from Bluehost, or buy a more built-out theme from another site.
I recommend skipping this step and downloading your own theme from a 3rd party site. I’ll go into details and give my recommendations in Step 10. For now, click “skip this step.”

Next, Wordpress will automatically install on your website!
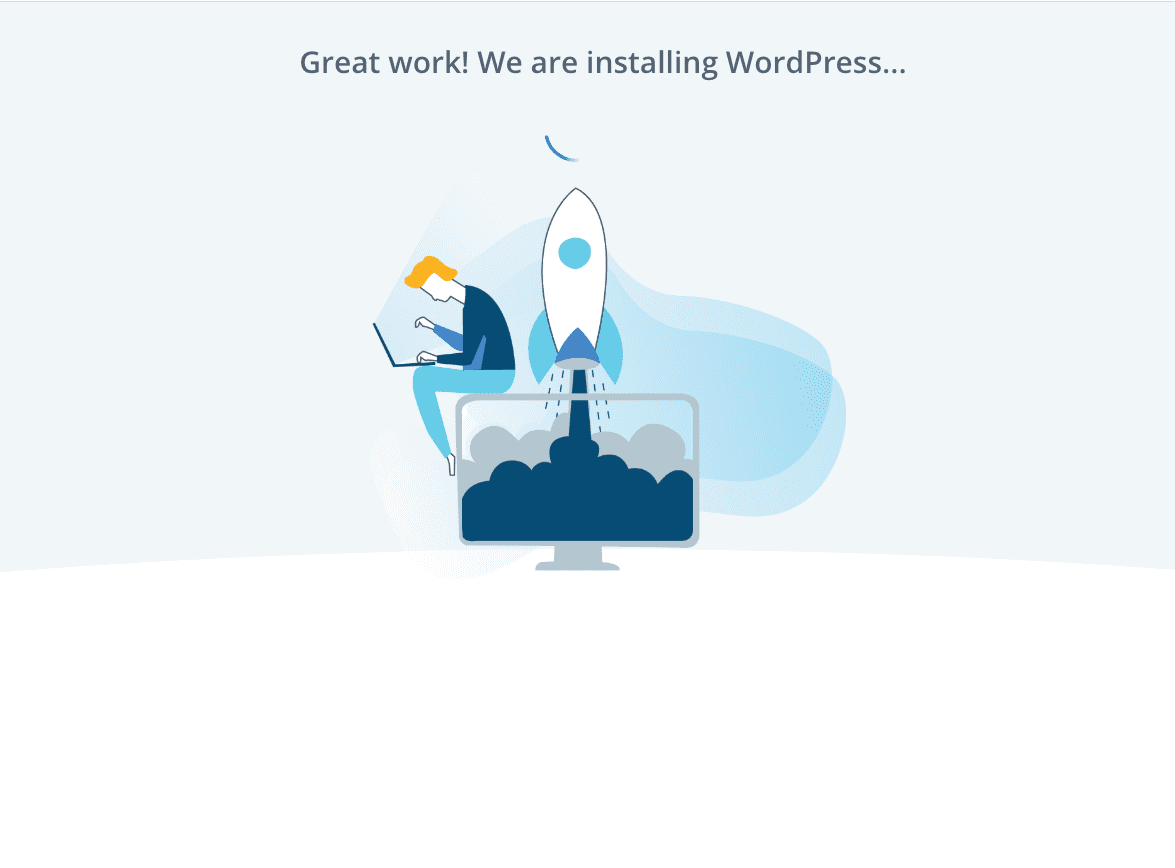
After it’s finished installing WordPress, you’ll click the big blue button that says, “Start Building.” This will take you to your Bluehost dashboard.
Step 9: How to connect Bluehost hosting with your Namecheap domain
If you purchased your domain separate from Bluehost, you’ll need to add your domain to Bluehost.
First, log in to your Bluehost account and click Domains on the left-hand side. In the list below it, click “Assign.”
Check, “Use a domain that is not already associated with your account,” and type in your domain name in the box below.

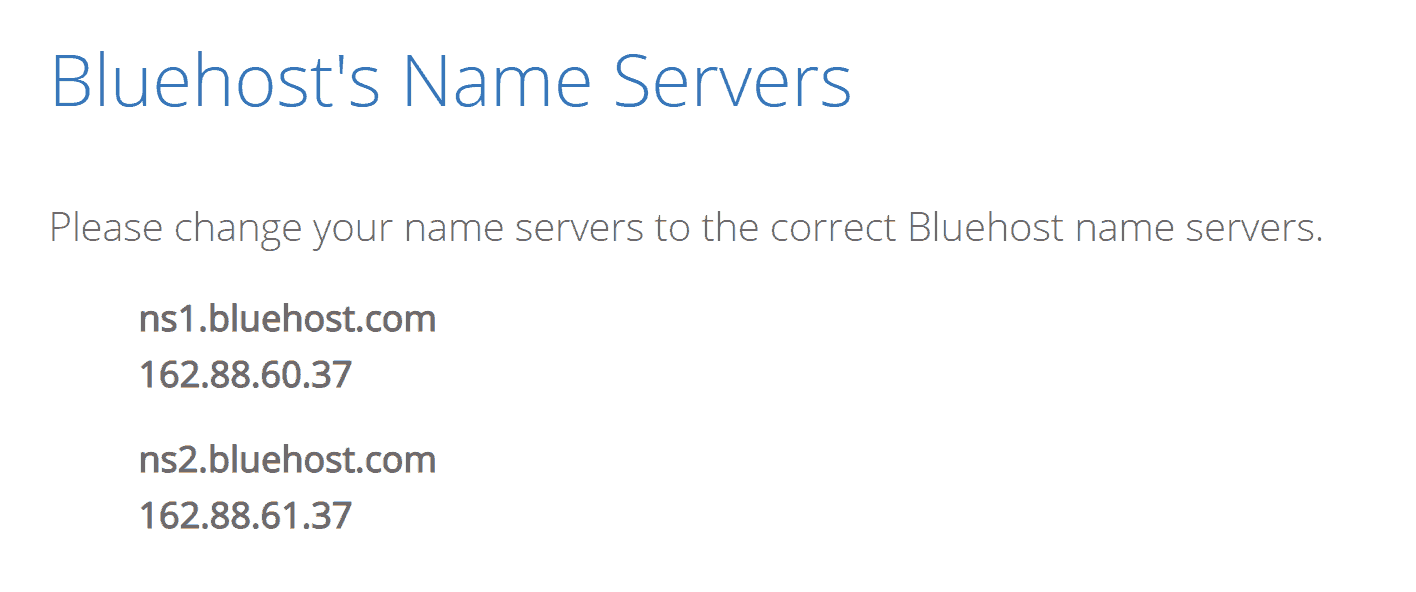
In Step 2, Bluehost will give you the name servers that you need to change in your domain.
Head back over to Namecheap and navigate to your dashboard. Here you’ll see a list all the domains you’ve purchased.
![]()
Select “manage”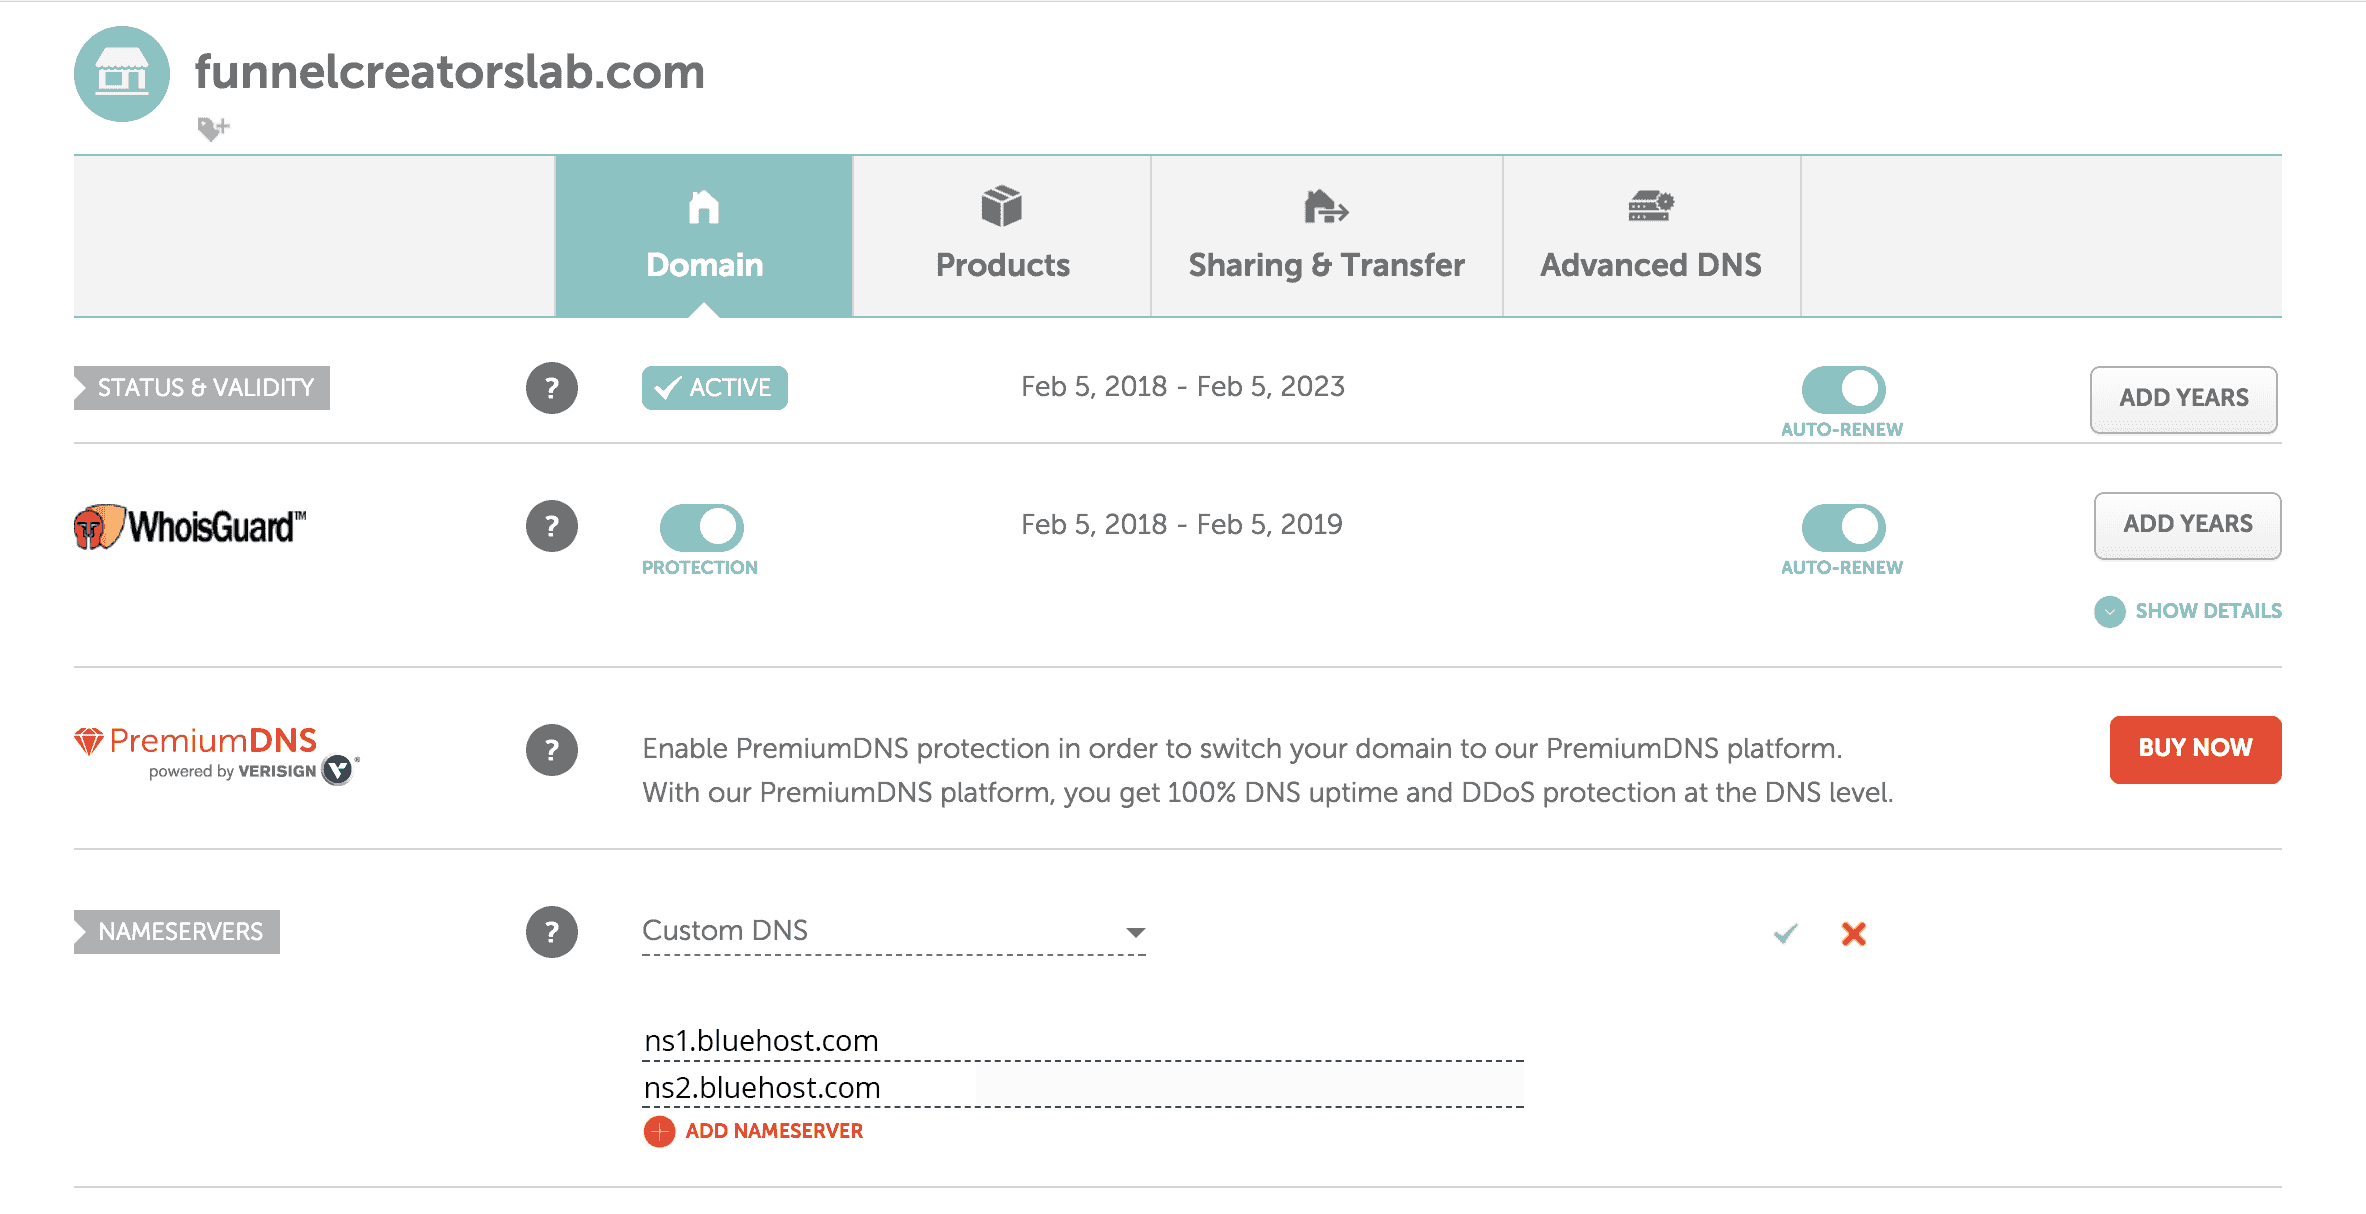
Under “nameservers” select “custom DNS” and copy Bluehost’s DNS records from this link. Select the green checkmark to confirm your entries.
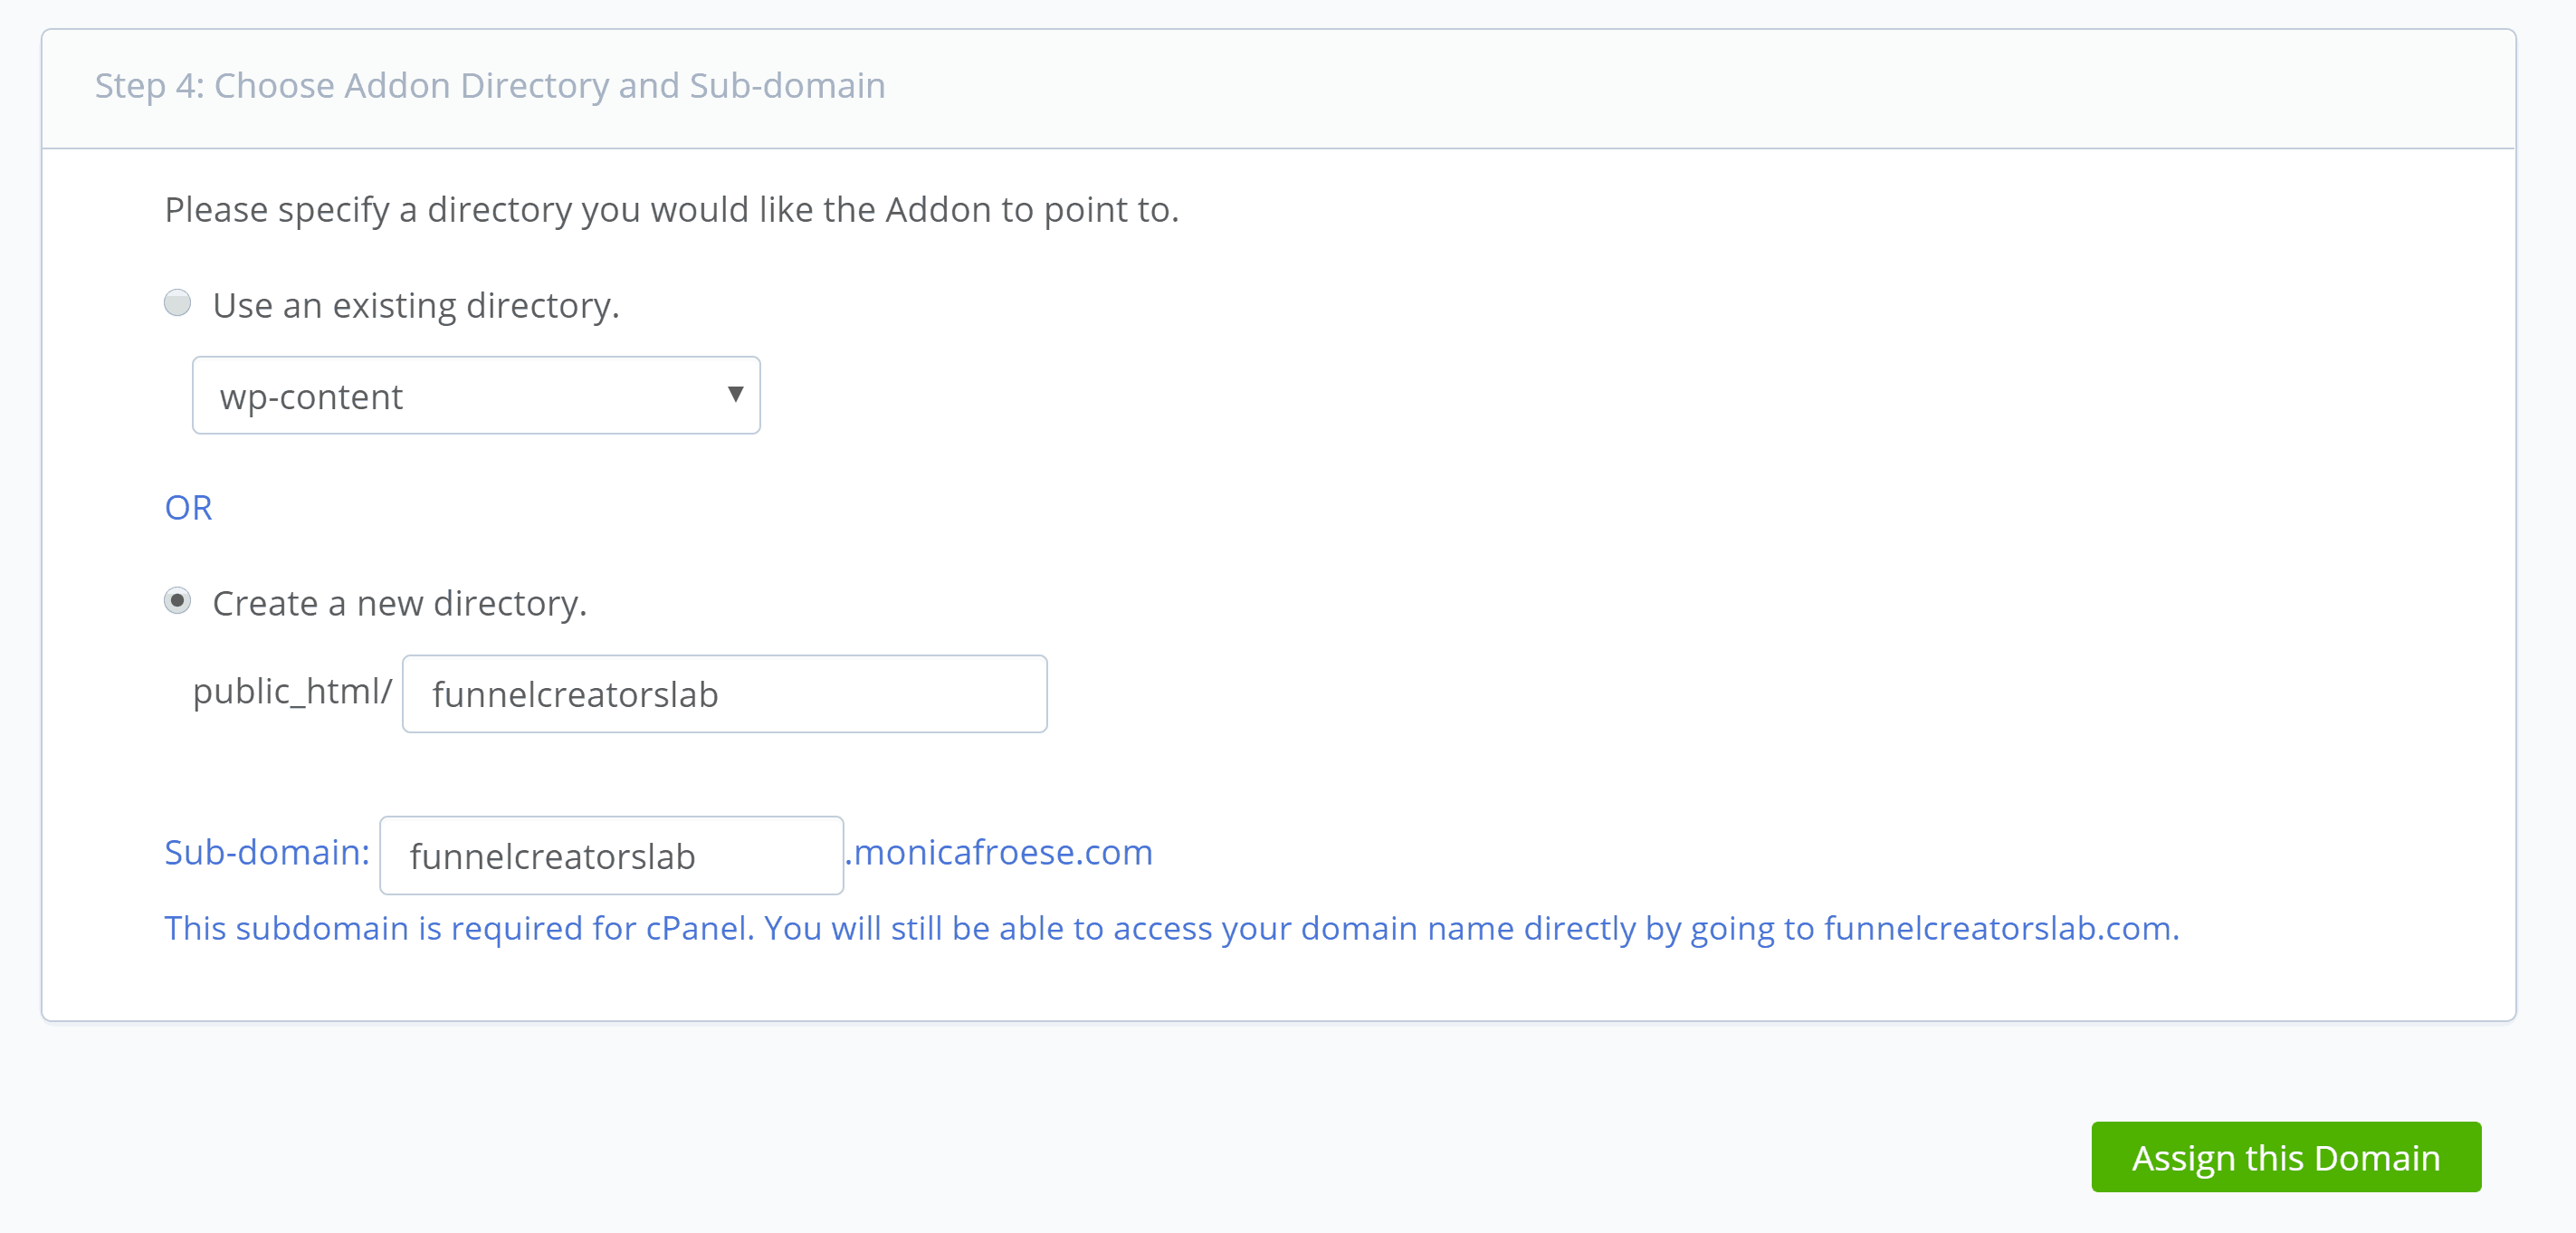
Now, go back to Bluehost. In Step 3, select “Addon Domain.”
In Step 4, choose “Create a new directory,” then click the green button at the bottom that says, “Assign this Domain.”
It may take 24-48 hours for your domain to link up with Bluehost.
Step 10: Install a WordPress theme and plugins
To access your WordPress panel, you will go to http://yourwebsiteurl.com/wp-admin and enter the credentials that you just set up.
Now it’s time to select a theme for your website.
After you log in to your WordPress dashboard you will go to: Appearance → Themes → Add New, or activate a pre-installed theme from this page.
I use the StudioPress’ Genesis Framework with the Lifestyle Pro child theme (also sold by StudioPress). Genesis is widely recognized as the best framework for building a WordPress website with a ton of free tutorials available on the web to help you properly configure your setup.
All StudioPress themes are mobile responsive. As I mentioned earlier, if you do not have a mobile responsive theme, then you will be penalized by Google in search results. When I changed my theme, I used the StudioPress mobile responsive tool to check the mobile responsiveness of my website.
Restored 316 also has awesome (and feminine) child themes for Genesis.
Video Tutorial
https://youtu.be/DCYK9VhP-f0
These are the plugins I recommend that you start with. You can install these after you have installed your theme.
In your WordPress dashboard go to Plugins → Add new → Search for desired plugin → Install now
- Akismet provides spam protection for your blog.
- BackupBuddy backs up your blog’s database for an extra layer of protection.
- CommentLuv shares the love with your readers by allowing them to link-back to their most recent blog post in their comments.
- JetPack offers many features that can be used to enhance your blog. I primarily use the feature that auto-posts my new blog posts on social media.
- Social Pug adds a section in WordPress below your content that allows you to control the picture and description that preload when someone uses the social share icons on your articles or pages.
- Wordfence Security protects your site against hackers.
- Yoast SEO optimizes your website and articles for Search Engine Optimization (SEO); it basically gives your content visibility in Google search results!
Step 11: Set up Google Analytics
This is how you will track how well your site is performing. It’s the industry-standard way of monitoring the traffic to your site.
- Sign up for a free account
- Get your tracking code: Admin → Tracking info → Tracking code
- Copy and paste the code in WordPress: Genesis (requires the Genesis framework to do it this way) → Theme settings → Header scripts → Save settings
Video Tutorial
https://youtu.be/nvUQEqSujIc
Do You Need Professional Email?
One thing that I avoided doing for a long time was setting up a professional email. That means instead of using a Gmail or Yahoo! account, you would use [email protected]. It is much more professional to do it this way, and it looks much better when reaching out to other businesses.
You can set this up for free through your Bluehost hosting account and have your email route into your personal (or separate) Gmail account. I did this for a long time, but then I heard that sometimes hosting providers filter emails as SPAM.
After doing some investigation, I settled on G Suite . It allows you to use your domain email address and all the Google Apps such as Google Drive and Google Calendar. I highly recommend that you do not filter your email through your hosting provider. The cost is minimal at only $6/user per month.
Setting up G Suite for Work
- Sign up here.
- Choose whether or not you will be using an existing domain (you should be using your website) or purchasing a new domain.
- Create a username and password. For example, my username is monica@redefiningmom.com.
- In order to verify your domain, you will paste the HTML tag in the same place you put your Google Analytics code. Genesis (requires the Genesis framework to do it this way) → Theme settings → Header scripts → Save settings.
- Add MX records to your DNS server. This will happen where you registered your domain. For example, if you got a free domain with your hosting company, it will be done there. If you bought your domain through Namecheap, it will be done there. The easiest way to do this is Google “adding MX records to DNS (fill in where you purchased your domain).”
- After you have updated your MX records, Google will verify that you own the domain, and you can start logging into Google with your username and password!
Bonus Tip: Even Google is not perfect. When you store things on the cloud, they can disappear. I strongly recommend backing up your G Suite applications with Spin Backup.
Now, How Do I Actually MAKE Money from Blogging?
Great question and one I have a strong opinion on. I lay out my feelings on blogging (especially when you’re a mom) here: What No One Tells You About Blogging and Motherhood
I urge you to read this post before jumping head first into blogging. 🙂
Okay, So NOW You’re Ready to Take Your Blog to the Next Level?
Blogging Resources
Ultimate Beginners Guide to Blogging: How to Blog for Money<– my 4 step formula for making money online!
Blogging & Online Business Resources
How I Made $7,000 on Autopilot with Pinterest
New to Blogging?
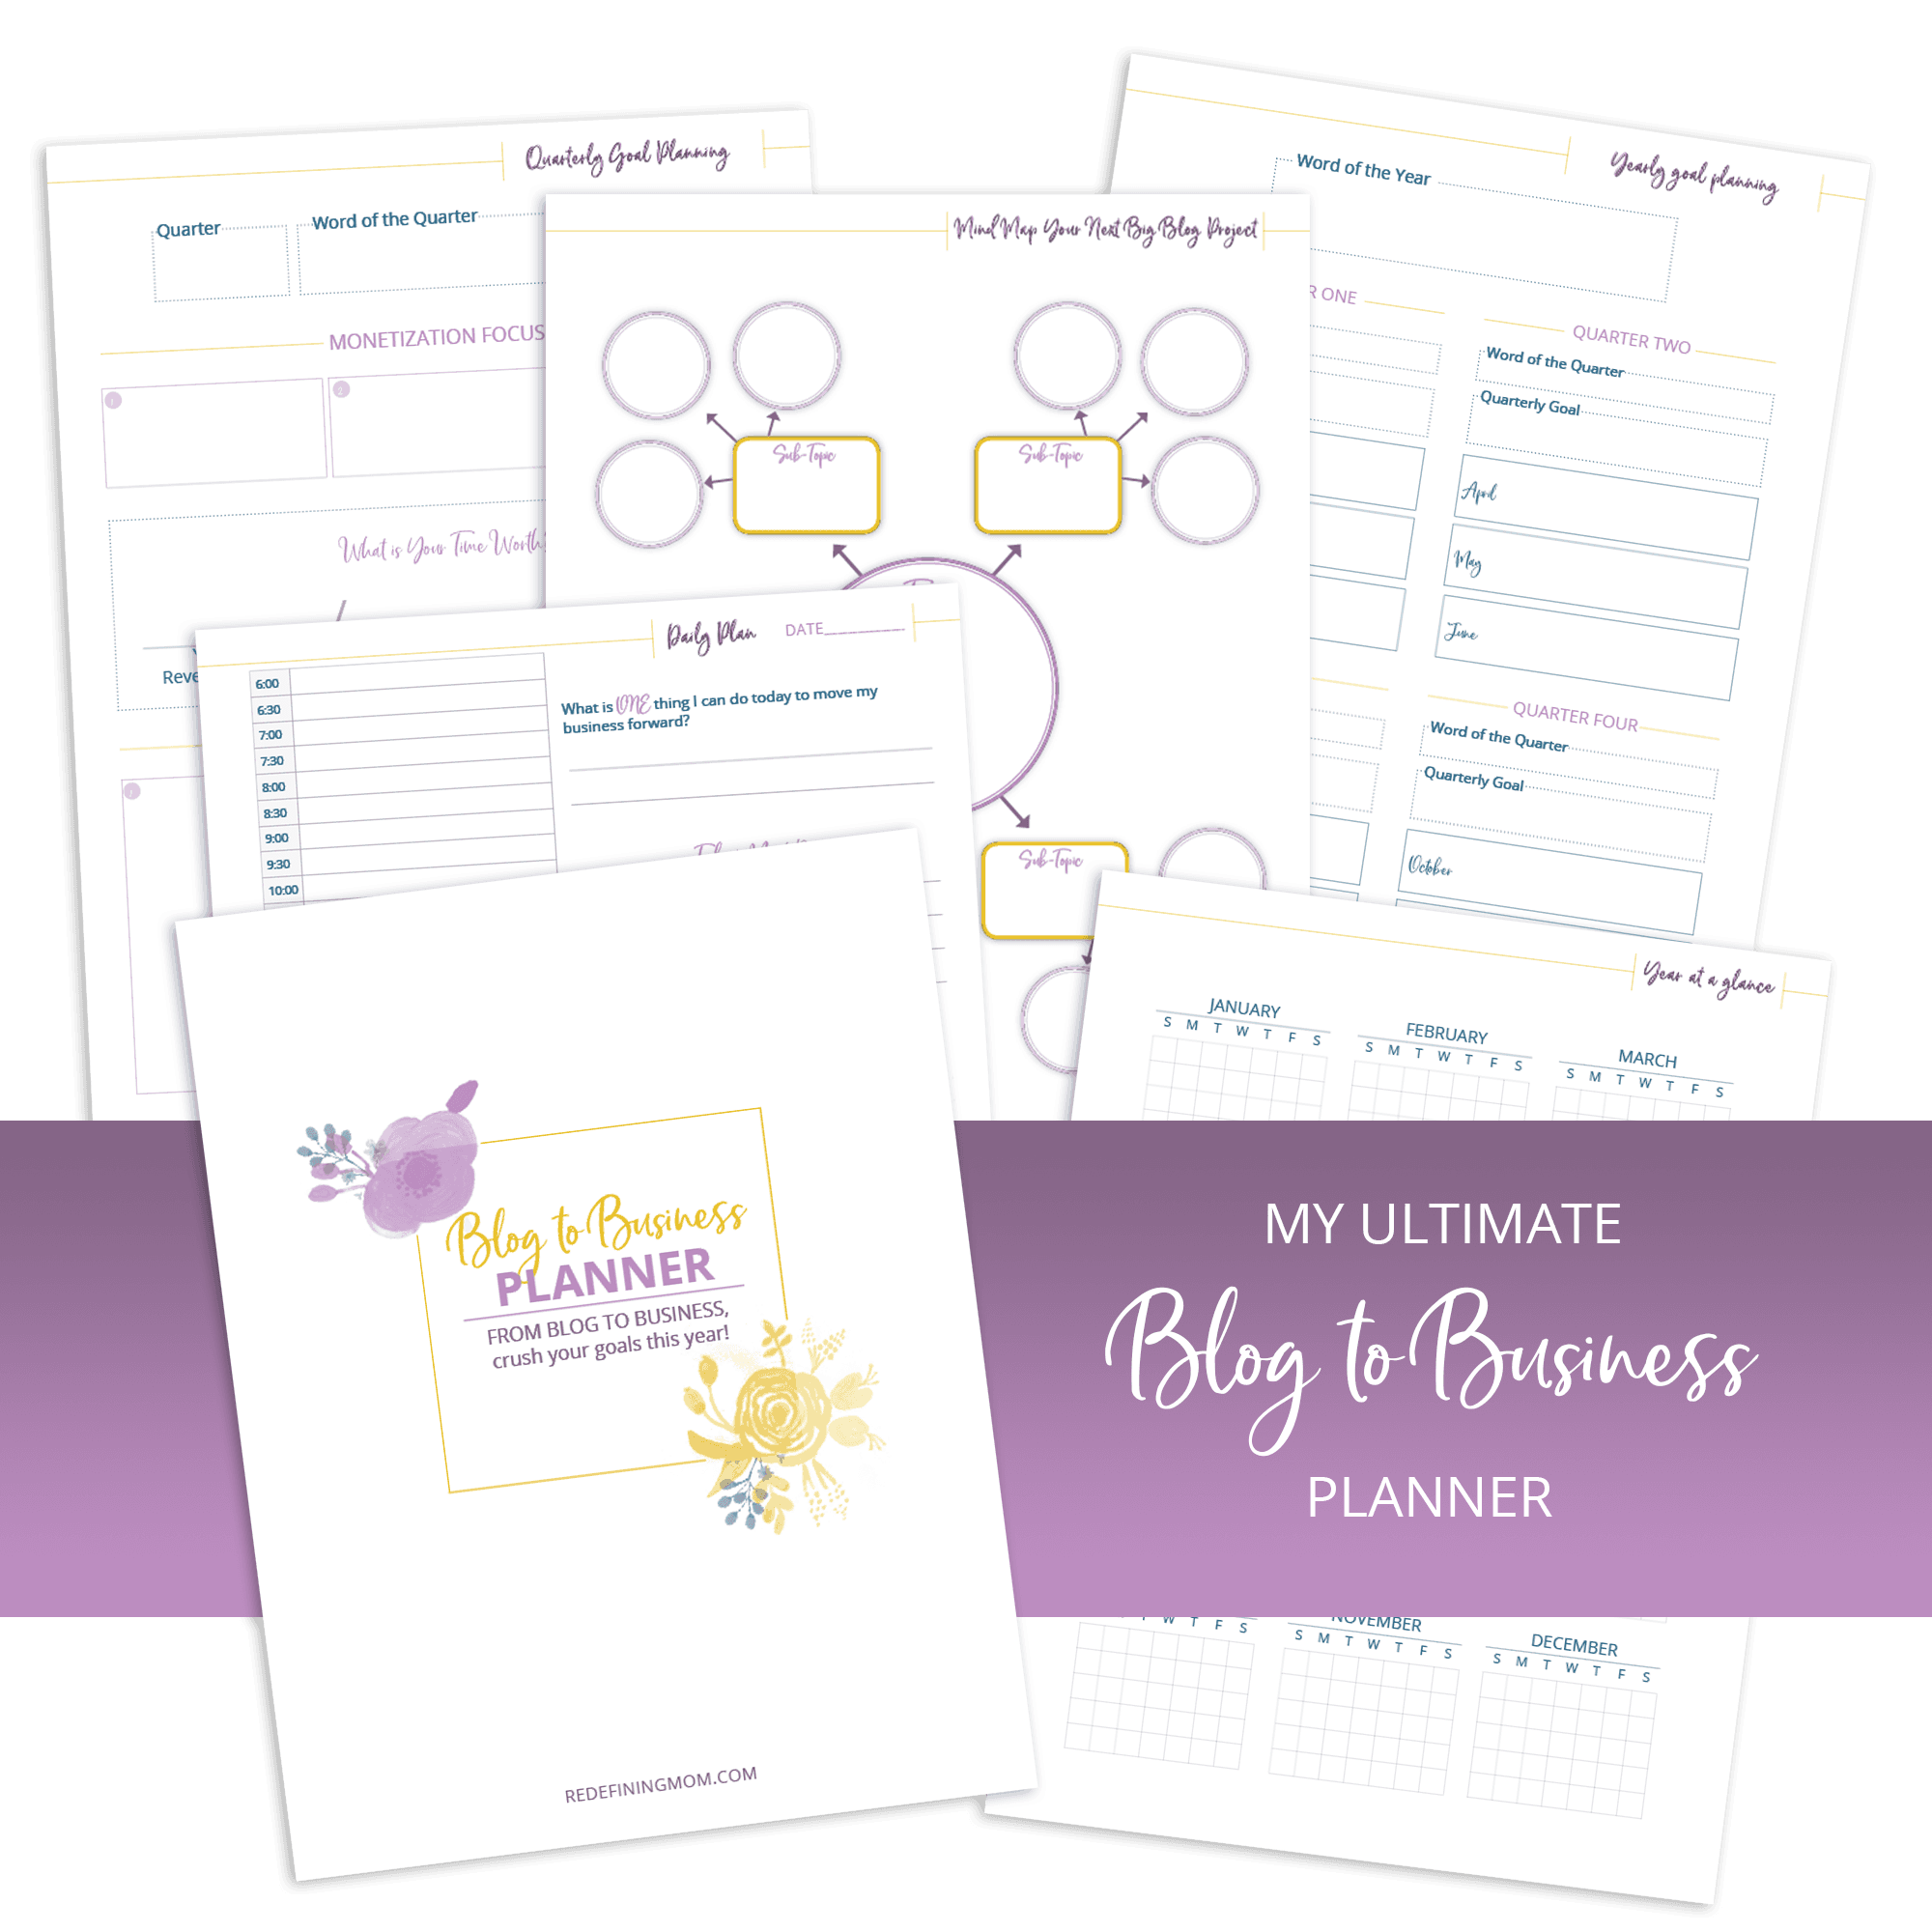
The Blog to Business Planner is my free blogging planner for moms who are looking to turn their passion into a profitable business through blogging! In this easy-to-follow undated planner, you can track your blogging goals and continue to use it year after year!
Pin it!

I really need to learn how to build a business the right way. I have too many bad habits and bad experiences. I can’t wait for this opportunity to develop the steps it will take to get there. Thanks
Thank you for your great article! It is so useful.